In mixed martial arts, the threat of a devastating knee or a heavy sprawl makes shooting for the legs a high-risk endeavor. While the double and single-leg takedowns remain staples of the sport, the body lock takedown offers a highly effective alternative that bypasses traditional defenses. By securing an upper-body grip around the opponent’s waist, a fighter can neutralize the sprawl, control the center of gravity, and dictate the terms of the grappling exchange. Understanding the mechanics of the body lock reveals why it is one of the most dominant clinch techniques in MMA.
The Grip Battle: Securing Dominant Underhooks
The foundation of a successful body lock lies in the grip battle. To execute the technique, a fighter must safely close the distance and secure either an over-under clinch or, ideally, double underhooks. Pummeling for inside arm position is critical to achieving this dominance.
Once the arms are wrapped around the opponent’s lower back, the attacker locks their hands together—often using a Gable grip or an S-grip. This connection clamps the opponent’s hips to the attacker’s torso, creating a unified center of mass that the attacker controls. A tight lock restricts the defender’s mobility, breaks their posture, and prevents them from creating the space necessary to strike or disengage.
Bypassing the Sprawl: The Mechanical Advantage
The primary defensive response to a traditional wrestling shot is the sprawl—dropping the hips heavy and shooting the legs backward to crush the attacker’s posture. The body lock entirely short-circuits this defense.
Because the attacker remains upright and attaches directly to the waist rather than diving for the legs, the defender cannot use their downward weight to force the attacker into the mat. Instead of fighting underneath the opponent’s center of gravity, the attacker is chest-to-chest. If the defender attempts to sprawl from a body lock, they often compromise their own balance, making them highly susceptible to being snapped down or tripped forward.
Open-Mat vs. Cage-Assisted Body Locks
The application of the body lock changes significantly depending on positioning inside the arena. In the center of the cage, an open-mat body lock requires immediate action. Without a barrier to trap the opponent, the attacker must rely on dynamic balance, timing, and momentum to finish the takedown before the defender breaks the grip or creates a scramble.
Conversely, the cage-assisted body lock allows for a more methodical approach. By driving the opponent into the fence, the attacker can pin their hips, limit their footwork, and systematically break down their posture. The cage acts as a fulcrum, allowing the offensive fighter to drag the opponent to the mat using steady downward pressure, knee taps, and strategic foot sweeps without the risk of the opponent backing away.
Executing the Finish: Trips, Throws, and Mat Returns
Securing the lock is only half the battle; finishing the takedown requires precise leverage and timing. One of the most common finishes from this position is the outside trip. By stepping to the outside of the opponent’s leg and blocking their base, the attacker can use the upper-body lock to twist and force the opponent over the trapped limb.
Another highly effective option is the mat return. This involves lifting the opponent slightly off the ground, disrupting their base entirely, and safely dumping them onto the canvas. For fighters with a background in Judo or Greco-Roman wrestling, the body lock also opens up powerful hip throws and lateral drops, utilizing rotational force to launch the opponent off their feet.
Preventing the Reversal and Securing Top Control
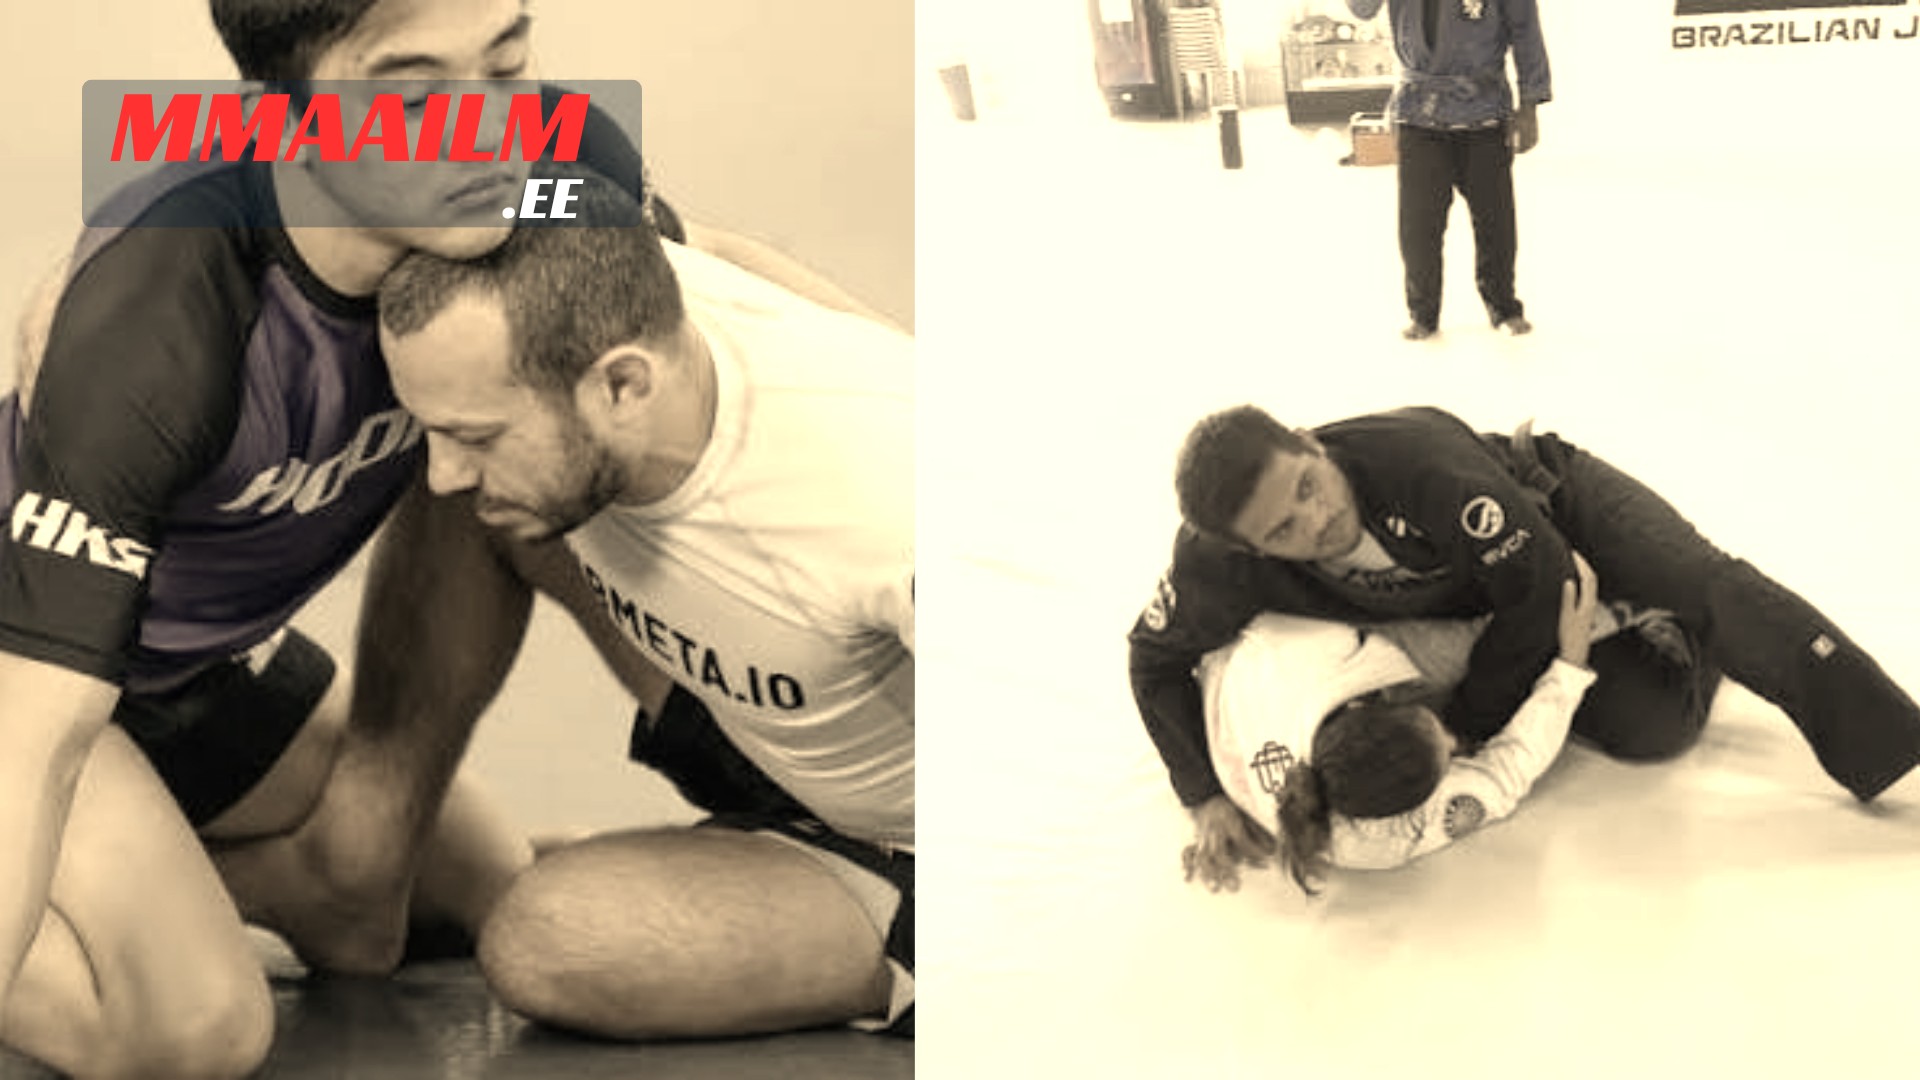
A major risk of upper-body takedowns is the potential to be reversed on the way down. If an attacker stubbornly holds onto the waist lock as they hit the mat, a savvy defender can use the falling momentum to roll through and end up in top position.
To prevent this, the attacker must understand when to transition their grips. As the opponent falls, the offensive fighter should release the locked hands at the last moment to post an arm for balance or to immediately secure underhooks for ground control. Landing heavily in side control or half guard ensures that the mechanical advantage gained on the feet translates directly into dominant top pressure on the canvas.